Setting up a construction time lapse camera is a great way to capture and document the progress of your project. Time lapse photography is a popular technique used by photographers to capture a scene at regular intervals. In construction, it can be a useful tool for monitoring the progress of your project. Here are some tips for setting up your construction time lapse camera:
Choose the Right Equipment
One of the most important factors to consider when setting up your construction time lapse camera is the equipment you will use. You will need a camera that is durable and can withstand extreme weather conditions. Additionally, you should choose a camera that has the ability to connect to an external power source, as you will be shooting for extended periods of time.
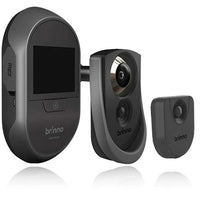
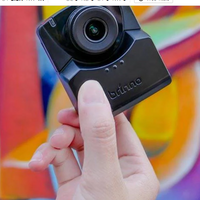
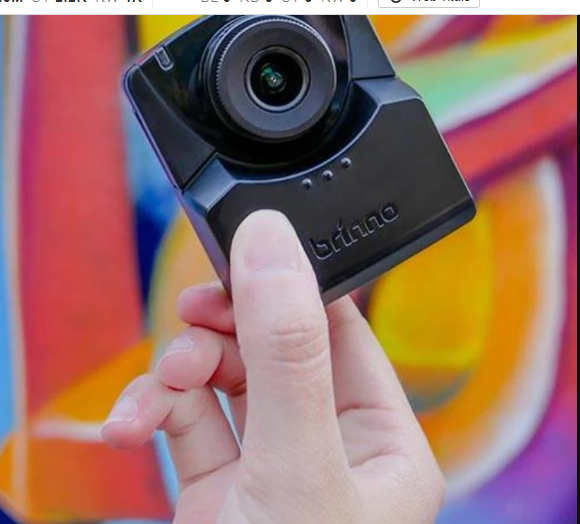
When selecting a camera, you can choose traditional DSLRs, or select a dedicated time lapse camera. Dedicated time lapse cameras are purpose-built for time-lapse photography and are less expensive than DSLRs. They are also easier to use and require less setup and configuration.
Determine the Optimal Shooting Schedule
When setting up your construction time lapse camera, it’s important to determine the optimal shooting schedule. This will depend on the project you are working on and the pace at which it progresses.
As a general rule of thumb, you should shoot at regular intervals over the course of the project. This will allow you to create a time-lapse video that shows the project from start to finish. A great interval to start with is one photo every 5-10 minutes.
Additionally, be sure to consider any project-related events such as the installation of a large piece of equipment or the pouring of concrete. It is important to make sure that you capture these critical moments in your time lapse film.
Choose the Right Location
The location of your construction time lapse camera is critical to capturing quality footage. You should position your camera in a location where it will have an unobstructed view of the job site. Additionally, you should make sure that the camera is secured and protected from the elements.
Monitoring Your Camera and Making Adjustments
Monitoring your construction time lapse camera requires careful attention to details. Here are some tips to guide you through the process:
Check the power source - Ensure that you have a reliable power source for your camera. If it is battery-powered, make sure the battery is fully charged and can last for the duration of the recording.
Set the interval time- The time-lapse interval timer determines how frequently your camera captures an image. Set it to capture images at an appropriate interval depending on the length of your project.
Check the framing- Make sure the camera is facing the direction of the construction site, and the framing is appropriate to capture the entire project.
Adjust the exposure settings- Depending on the lighting situation of your construction project, you may need to adjust the camera's exposure settings. This will help ensure that images captured are bright enough and not overexposed.
Re-position the camera- If you notice that the framing is not quite right and important sections of the construction project are not captured, consider repositioning the camera to achieve a better view.
Adjust the time-lapse interval timer- You may need to adjust the time-lapse interval timer if the duration or speed of the project changes. Setting the timer too high may lead to missed events, while setting it too low may render the video too long.
Check More features : Brinno BCC300 Construction Time Lapse Bundle - Next generation construction time lapse
Troubleshooting Common Issues
Even with careful monitoring, you may still encounter some problems with your time-lapse camera. Here are some common issues and how to fix them:
Battery drain - If the camera's battery drains faster than expected, consider using an external battery or power source.
Blurry images- Blurry images may be the result of freezing conditions or vibrations. Make sure that the camera is installed on a stable surface and use anti-vibration mounts.
Memory card issues- Memory card issues may arise if the card is not large enough to store the high-quality images or if it is not formatted correctly. Always use a high-quality memory card and format it according to the manufacturer's instructions.
Conclusion
Setting up your construction time lapse camera requires careful consideration and planning. Choosing the right equipment, determining the optimal shooting schedule, and selecting the right location are all key factors that will contribute to capturing compelling footage of your project. With these tips in mind, you can set up your camera and enjoy the benefits of time lapse photography.